目次
Overview
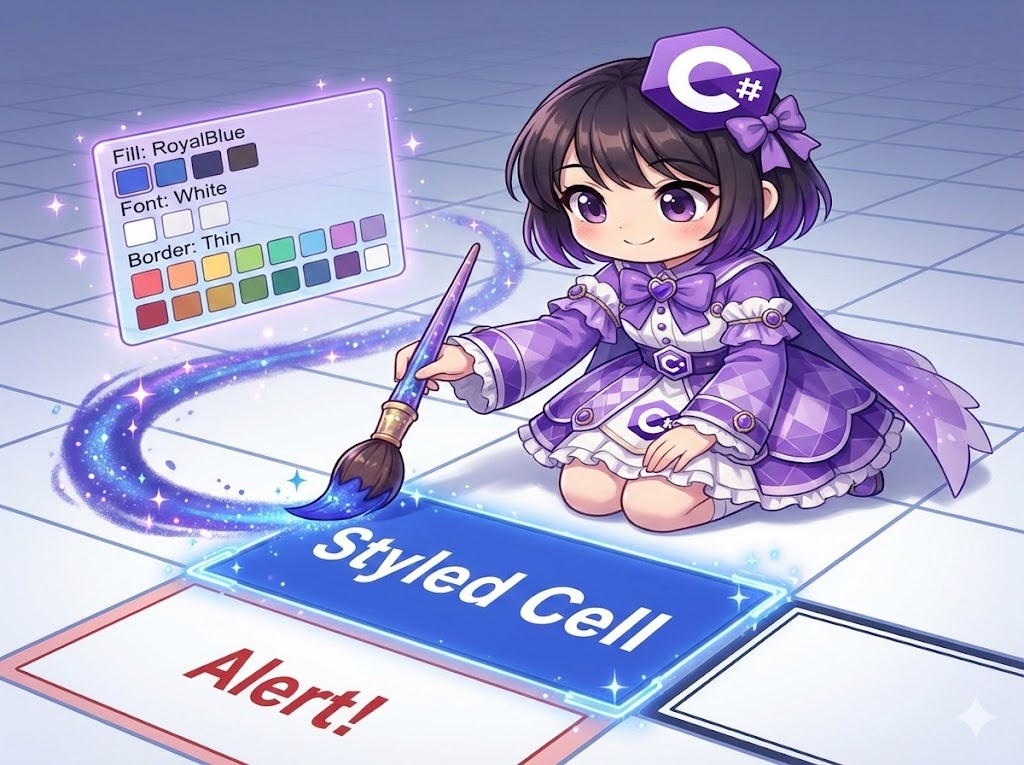
This implementation uses the NPOI library to apply formatting (styles) such as cell background colors, borders, and font colors to an Excel sheet. Styling in NPOI follows a specific procedure: first, you “create a style object,” and then you “assign it to a cell.”
Specifications (Input/Output)
- Input: Destination file path, values to set, and style information.
- Output: A decorated Excel file.
- Library: NPOI (NuGet package).
Implemented Methods
| Method Name | Description |
| CreateMyStyle | Creates and returns a predefined style object with background color (blue), borders, etc. |
| SetValue | Sets a value at a specified row and column. Allows applying a style by passing a style object. |
Basic Usage
var xls = MyExcelBook.Create("style_test.xlsx");
xls.CreateSheet("DesignSheet");

// 1. Create a style (can be reused)
var blueStyle = xls.CreateMyStyle();

// 2. Standard cell write
xls.SetValue(1, 1, "Normal Cell");

// 3. Cell write with applied style
xls.SetValue(2, 2, "Styled Cell", blueStyle);

xls.Save();
Full Code Example
The following code demonstrates how to wrap NPOI styling functionality for easy use in a console application.
using System;
using System.IO;
using NPOI.SS.UserModel;
using NPOI.XSSF.UserModel;

class Program
{
    static void Main()
    {
        try
        {
            var xls = MyExcelBook.Create("example_style.xlsx");
            xls.CreateSheet("Report");

            // Define style (Blue background, white text, borders)
            var headerStyle = xls.CreateMyStyle();

            // Write without style
            xls.SetValue(1, 1, "Normal Text");

            // Write with style
            xls.SetValue(3, 1, "Header Item 1", headerStyle);
            xls.SetValue(3, 2, "Header Item 2", headerStyle);

            xls.Save();
            Console.WriteLine("File created successfully.");
        }
        catch (Exception ex)
        {
            Console.WriteLine($"Error: {ex.Message}");
        }
    }
}

public sealed class MyExcelBook
{
    private XSSFWorkbook _workbook;
    private ISheet _sheet;
    private string _filePath;

    private MyExcelBook()
    {
        _workbook = new XSSFWorkbook();
    }

    public static MyExcelBook Create(string filePath)
    {
        return new MyExcelBook
        {
            _filePath = filePath,
            _workbook = new XSSFWorkbook()
        };
    }

    public void CreateSheet(string name)
    {
        _sheet = _workbook.CreateSheet(name);
    }

    // Create custom style
    public ICellStyle CreateMyStyle()
    {
        var style = _workbook.CreateCellStyle();

        // Set background color (Royal Blue)
        style.FillForegroundColor = IndexedColors.RoyalBlue.Index;
        style.FillPattern = FillPattern.SolidForeground;

        // Set borders (Thin line)
        style.BorderTop = BorderStyle.Thin;
        style.BorderBottom = BorderStyle.Thin;
        style.BorderLeft = BorderStyle.Thin;
        style.BorderRight = BorderStyle.Thin;

        // Set font (White text, Bold)
        var font = _workbook.CreateFont();
        font.Color = IndexedColors.White.Index;
        font.IsBold = true;
        style.SetFont(font);

        return style;
    }

    // Method to set value and style
    public void SetValue(int rowIndex, int colIndex, string value, ICellStyle style = null)
    {
        var row = _sheet.GetRow(rowIndex) ?? _sheet.CreateRow(rowIndex);
        var cell = row.GetCell(colIndex) ?? row.CreateCell(colIndex);

        cell.SetCellValue(value);

        if (style != null)
        {
            cell.CellStyle = style;
        }
    }

    public void Save()
    {
        using var stream = new FileStream(_filePath, FileMode.Create, FileAccess.Write);
        _workbook.Write(stream);
    }
}
Customization Points
- Changing Fonts: Create a font object with
_workbook.CreateFont(), set properties likefont.FontHeightInPoints = 14;(size) orfont.FontName = "Arial";(font name), and link it to the style withstyle.SetFont(font). - Alignment: Adjust text positioning using
style.Alignment = HorizontalAlignment.Center;(horizontal) andstyle.VerticalAlignment = VerticalAlignment.Center;(vertical). - Display Formats: To display dates or currency, use the
style.DataFormatproperty.Example:style.DataFormat = _workbook.CreateDataFormat().GetFormat("yyyy/mm/dd");
Important Notes
- Style Limit: Excel files have a limit on the number of unique cell style definitions (approximately 64,000). Calling
CreateCellStyle()inside a loop will quickly exceed this limit and corrupt the file. Always create styles once outside of loops and reuse them. - Color Selection: Using
IndexedColorsis the standard approach. To use custom RGB colors, you must use theXSSFColorclass specifically for.xlsxfiles. - Overwriting Styles: Setting a new style on a cell that already has one will completely replace the previous style (including borders). If you want to modify only part of a style, you should use the
CloneStyleFrommethod to copy the existing style before editing.
Advanced Usage
Creating an Alert Style (Red Text)
Here is an example of a “Red Text” style used for negative values or alerts.
public ICellStyle CreateAlertStyle()
{
    var style = _workbook.CreateCellStyle();
    var font = _workbook.CreateFont();
    font.Color = IndexedColors.Red.Index; // Red font color
    style.SetFont(font);
    return style;
}
Conclusion
The golden rule when handling styles in NPOI is: “Define once, apply many times.” By using a factory method like CreateMyStyle to generate and hold style objects, and passing them as arguments to your writing methods, you can prevent code duplication and safely decorate your Excel files.